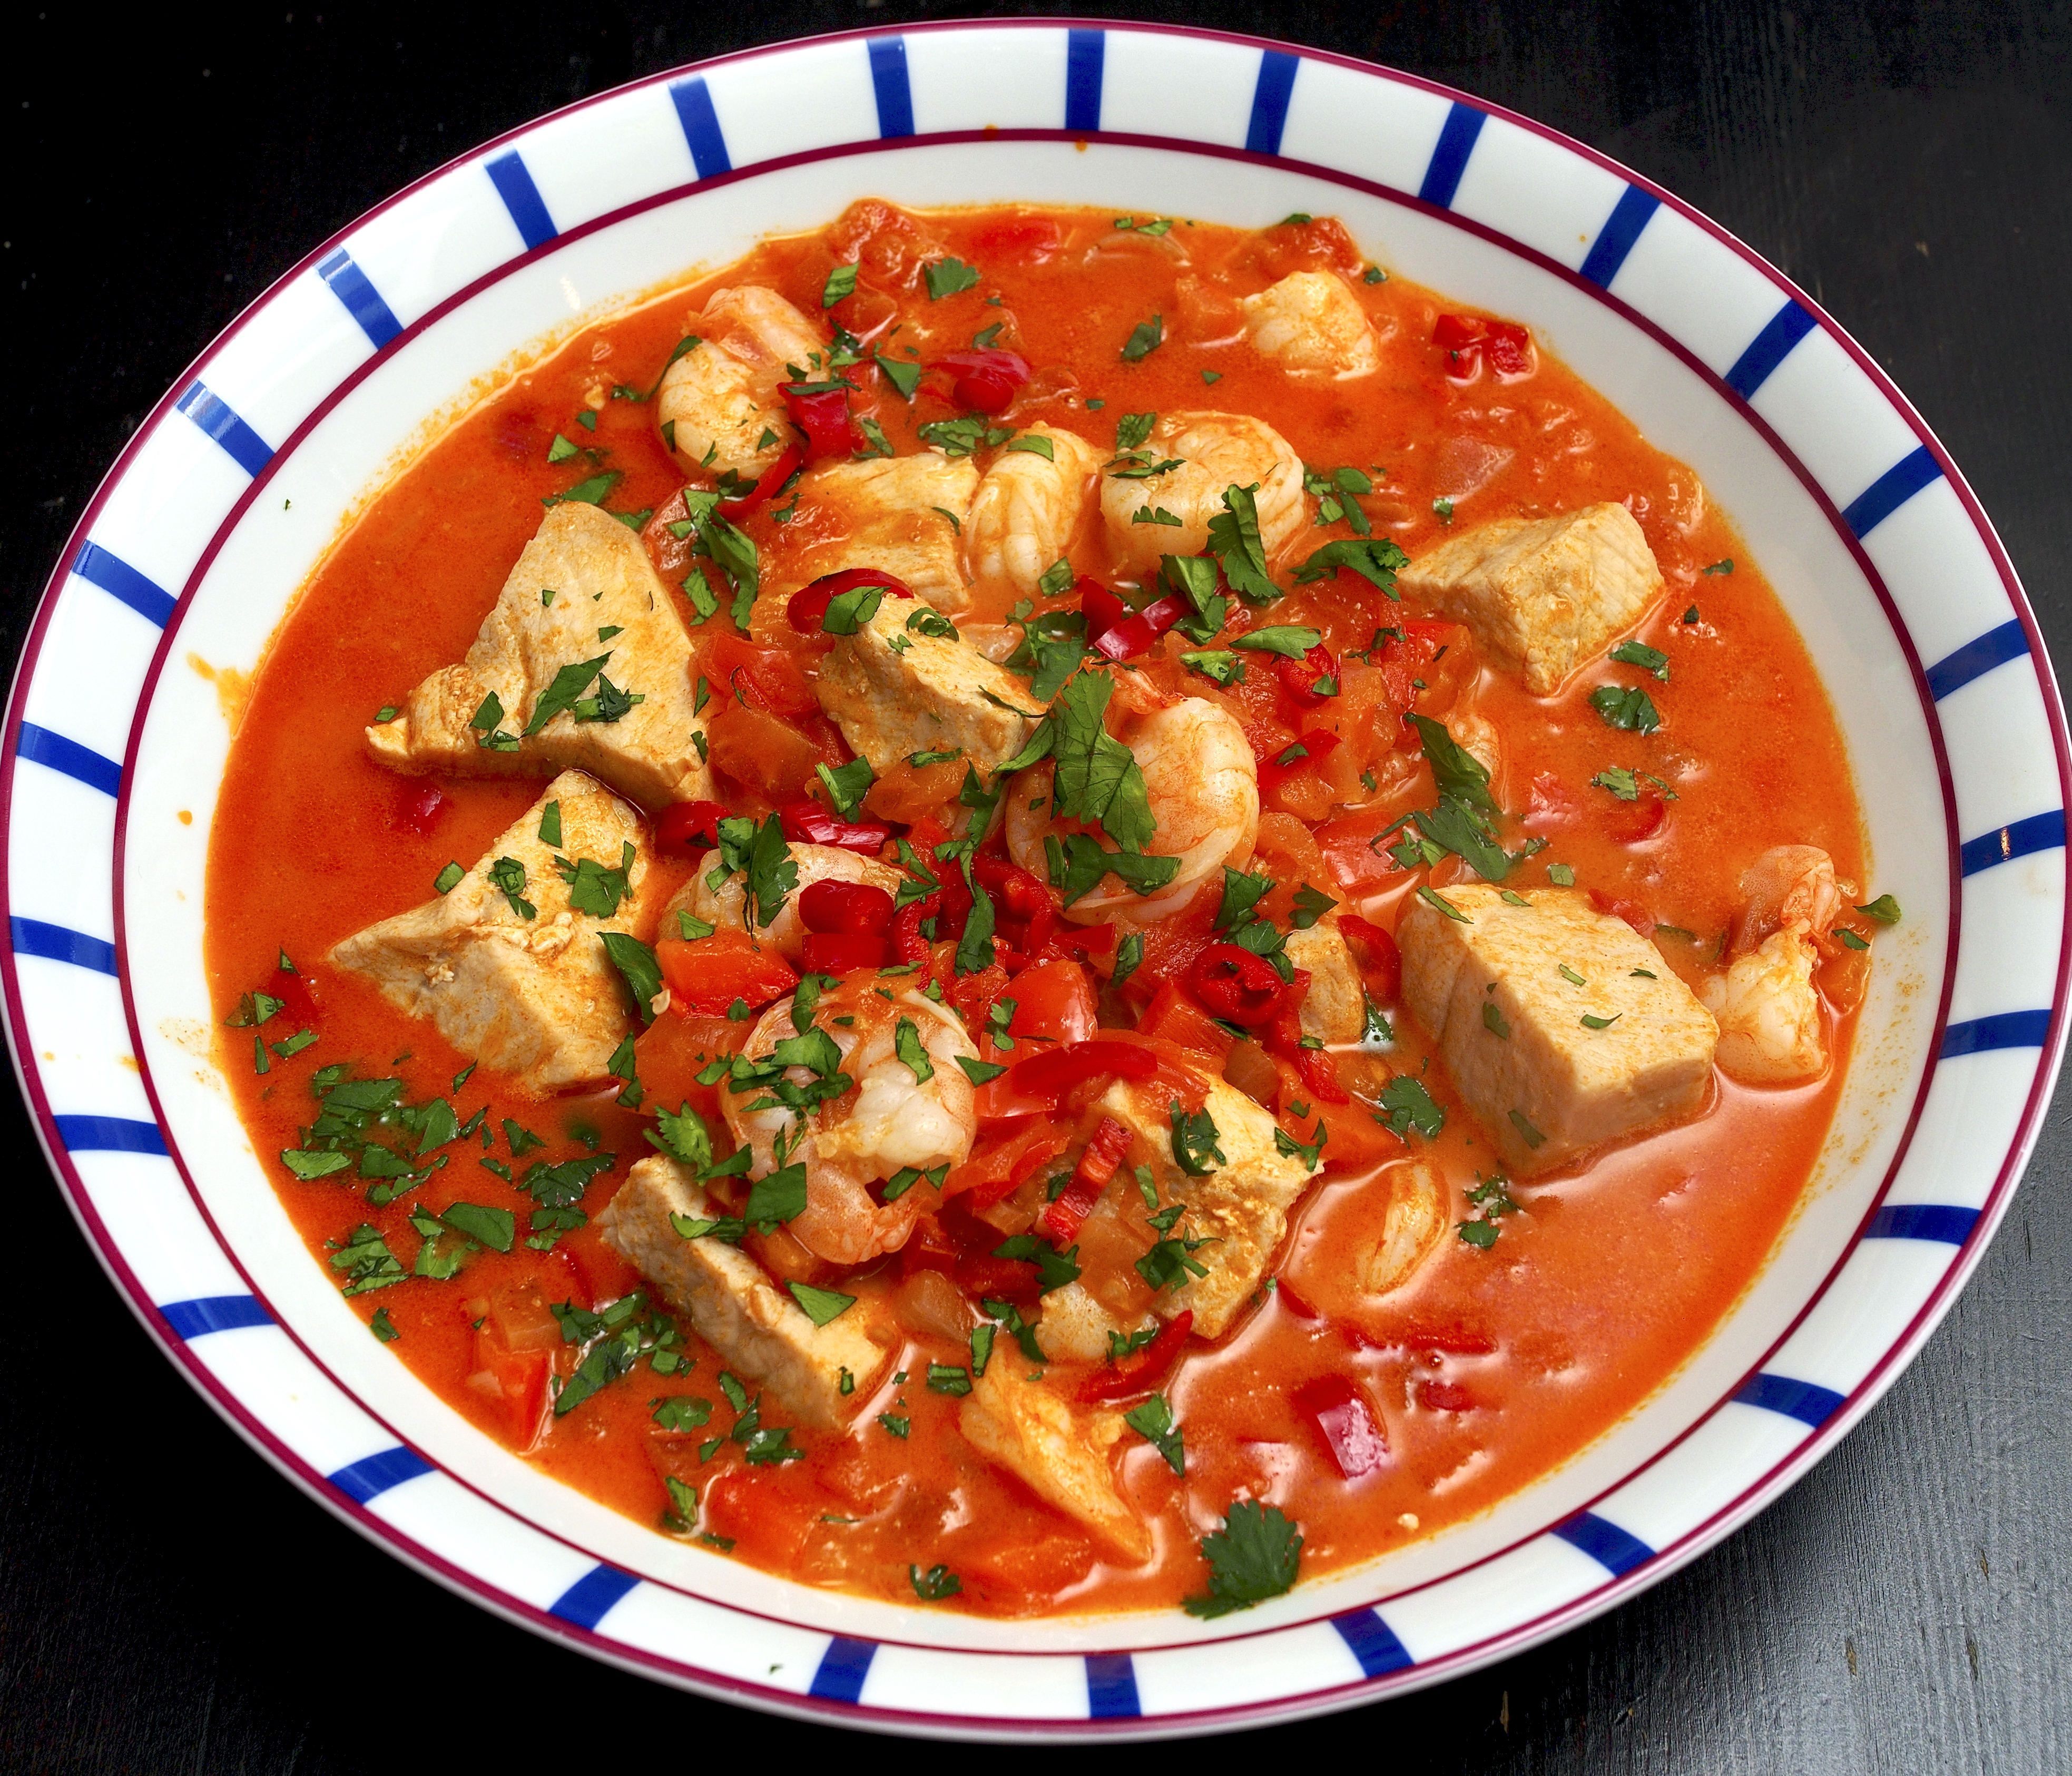
We loved this creamy coconut fish stew from Equador. We went for big chunks of swordfish and prawns but you can substitute other types of fish, like tuna or pollock. Serve with rice.
Wine Suggestion: try to find a light, earthy red with low tannins for this dish, and not too much acidity like a Gamay, riper Pinot Noir or a light Grenache. Tonight’s choice was Domaine Bellier’s Cheverny rouge, a Pinot Noir-Gamay blend from the warm 2018 vintage in the Loire. An under-rated wine region and a good accompaniment to the fish, spices and flavours of this dish.
Encocado – serves 4
2 tbsp olive oil
1 red onion, finely chopped
1 red pepper, finely chopped
3 clove of garlic, finely chopped
2 tsp paprika
1 tsp ground cumin
1 tsp ground coriander
4 tomatoes, finely chopped
1 tbsp tomato purée
400ml tin coconut milk
1 lime, juiced
½ orange, juiced
600g skinless boneless fish cut into 5 cm pieces (you can use snapper, prawns, tuna, swordfish or pollock – we used swordfish and prawns).
a thumb-sized piece of ginger
a small handful of coriander leaves, finely chopped
1 red chilli, finely sliced
Heat the oil in a large pan over a medium heat.
Cook the onion and pepper for 7 to 8 minutes or until soft and golden, then add the garlic and cook for 30 seconds.
Add the spices and some salt, mix well, then add the tomatoes, tomato purée and 100ml of water. Mix well and cook for about 5 minutes or until the tomatoes start to break down.
Add the coconut milk, lime juice and orange juice, then bring to the boil. Reduce the heat to low and simmer for 10 minutes.
Add the fish and stir, then grate in the ginger. Cover and cook gently for 10-12 minutes or until the fish is cooked through. If you are using prawns they won’t take so long to cook so just add them for the last couple of minutes. Scatter over the coriander and chilli to serve.
(Original recipe by John Gregory-Smith in Olive Magazine, April 2018.)
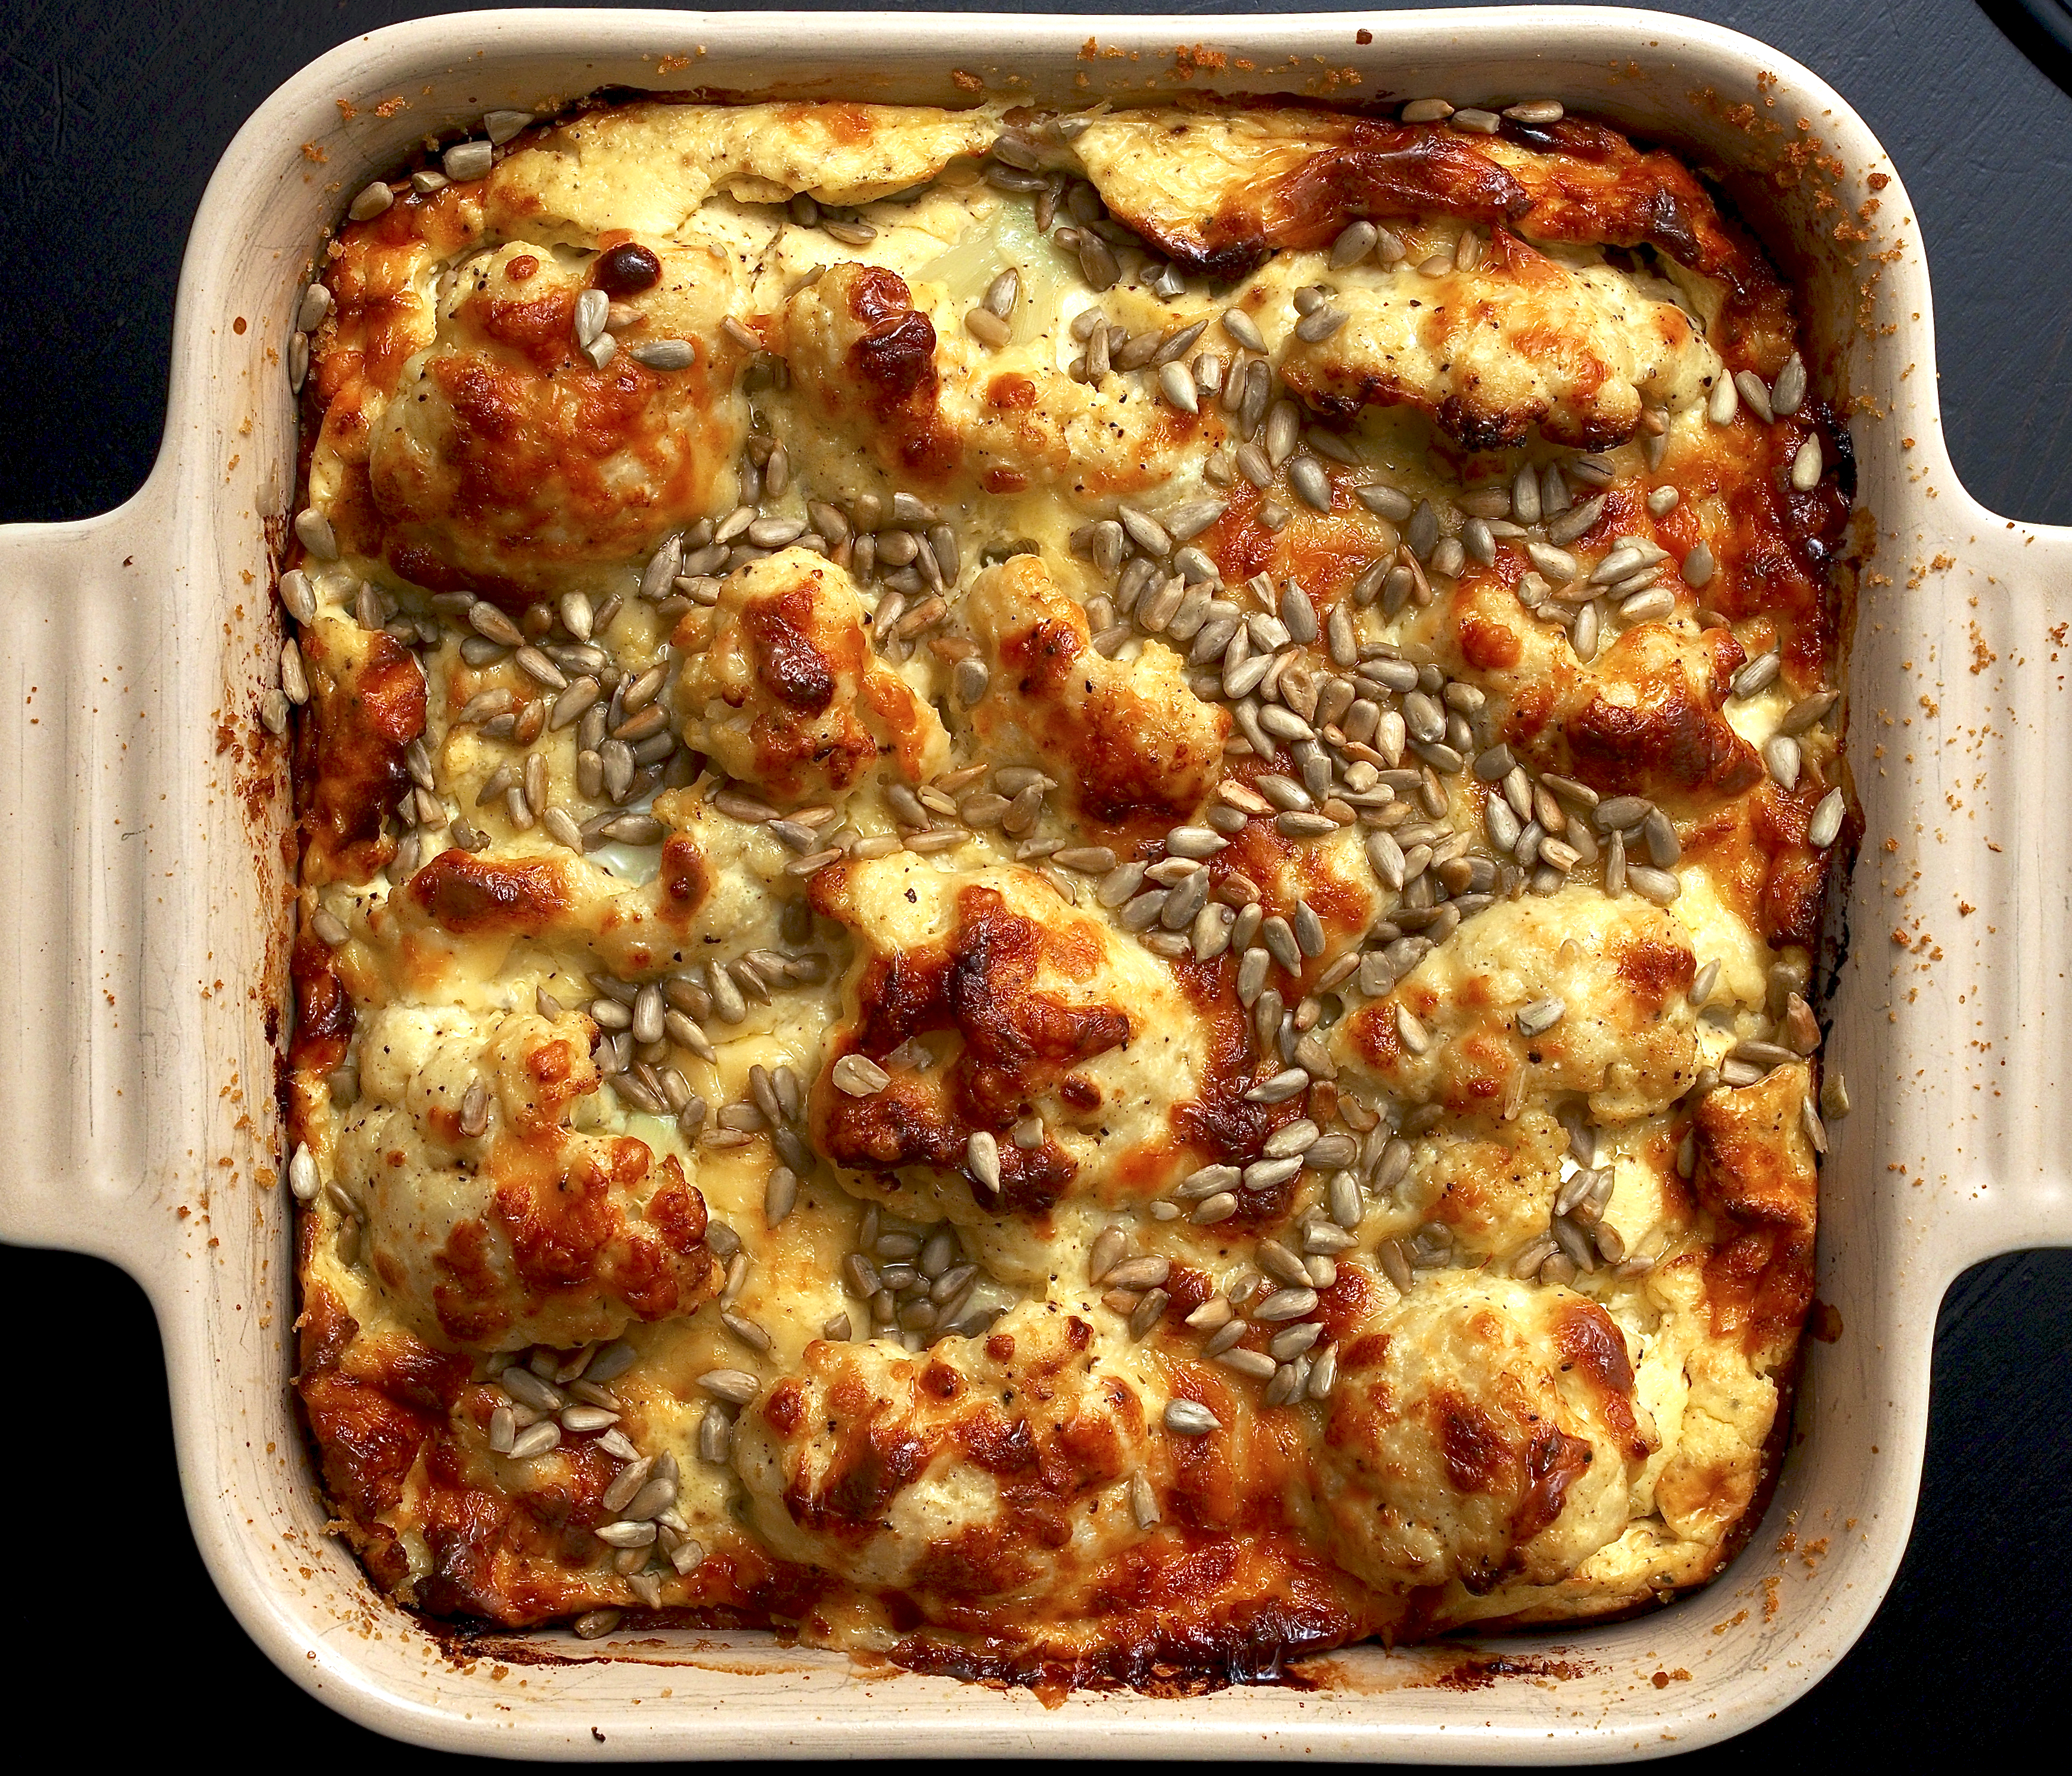
The first thing to mention, is that this is not like the cauliflower in cheese sauce that we all know and love, but no less because of that. This dish is more set, more ‘eggy’ and has a distinctive tang from the soured cream. It also reheats particularly well, regular cauliflower cheese tends to split. So the verdict is that you should definitely give this a go – we served as a side with a dish of minty peas and lettuce and some baked ham. It could definitely work as a main either with a green salad or green veg.
Cauliflower gratin with soured cream – serves 4
a knob of butter, for greasing the dish
50g breadcrumbs
1 large cauliflower, about 1kg when the leaves have been removed, cut into medium-sized florets
350ml soured cream
125g Cheddar cheese, grated
2 eggs, beaten
1 tsp ground nutmeg
3 tsp mustard
2 tsp salt
1½ tsp black pepper
50g sunflower seeds
Pre-heat the oven to 200C/400F/Gas 6.
Grease a ceramic baking dish with butter, then sprinkle with the breadcrumbs.
Bring a large pan of water to the boil and cook the florets for about 6 minutes, or until just tender. Drain, then steam dry in the warm pot for a few minutes and drain again on some kitchen paper to make sure no water remains.
Combine the soured cream, 100g of the cheese and eggs with the nutmeg, mustard and seasoning in a large bowl.
Put the drained cauliflower into the prepared dish, then pour over the soured cream mixture. Sprinkle with the rest of the cheese and bake in the oven for 25-30 minutes, covering with foil if it starts to brown too quickly.
Serve with the sunflower seeds scattered over the top.
(Original recipe from Carpathia: Food from the Heart of Romania by Irina Georgescu, Frances Lincoln Publishing, 2020.)
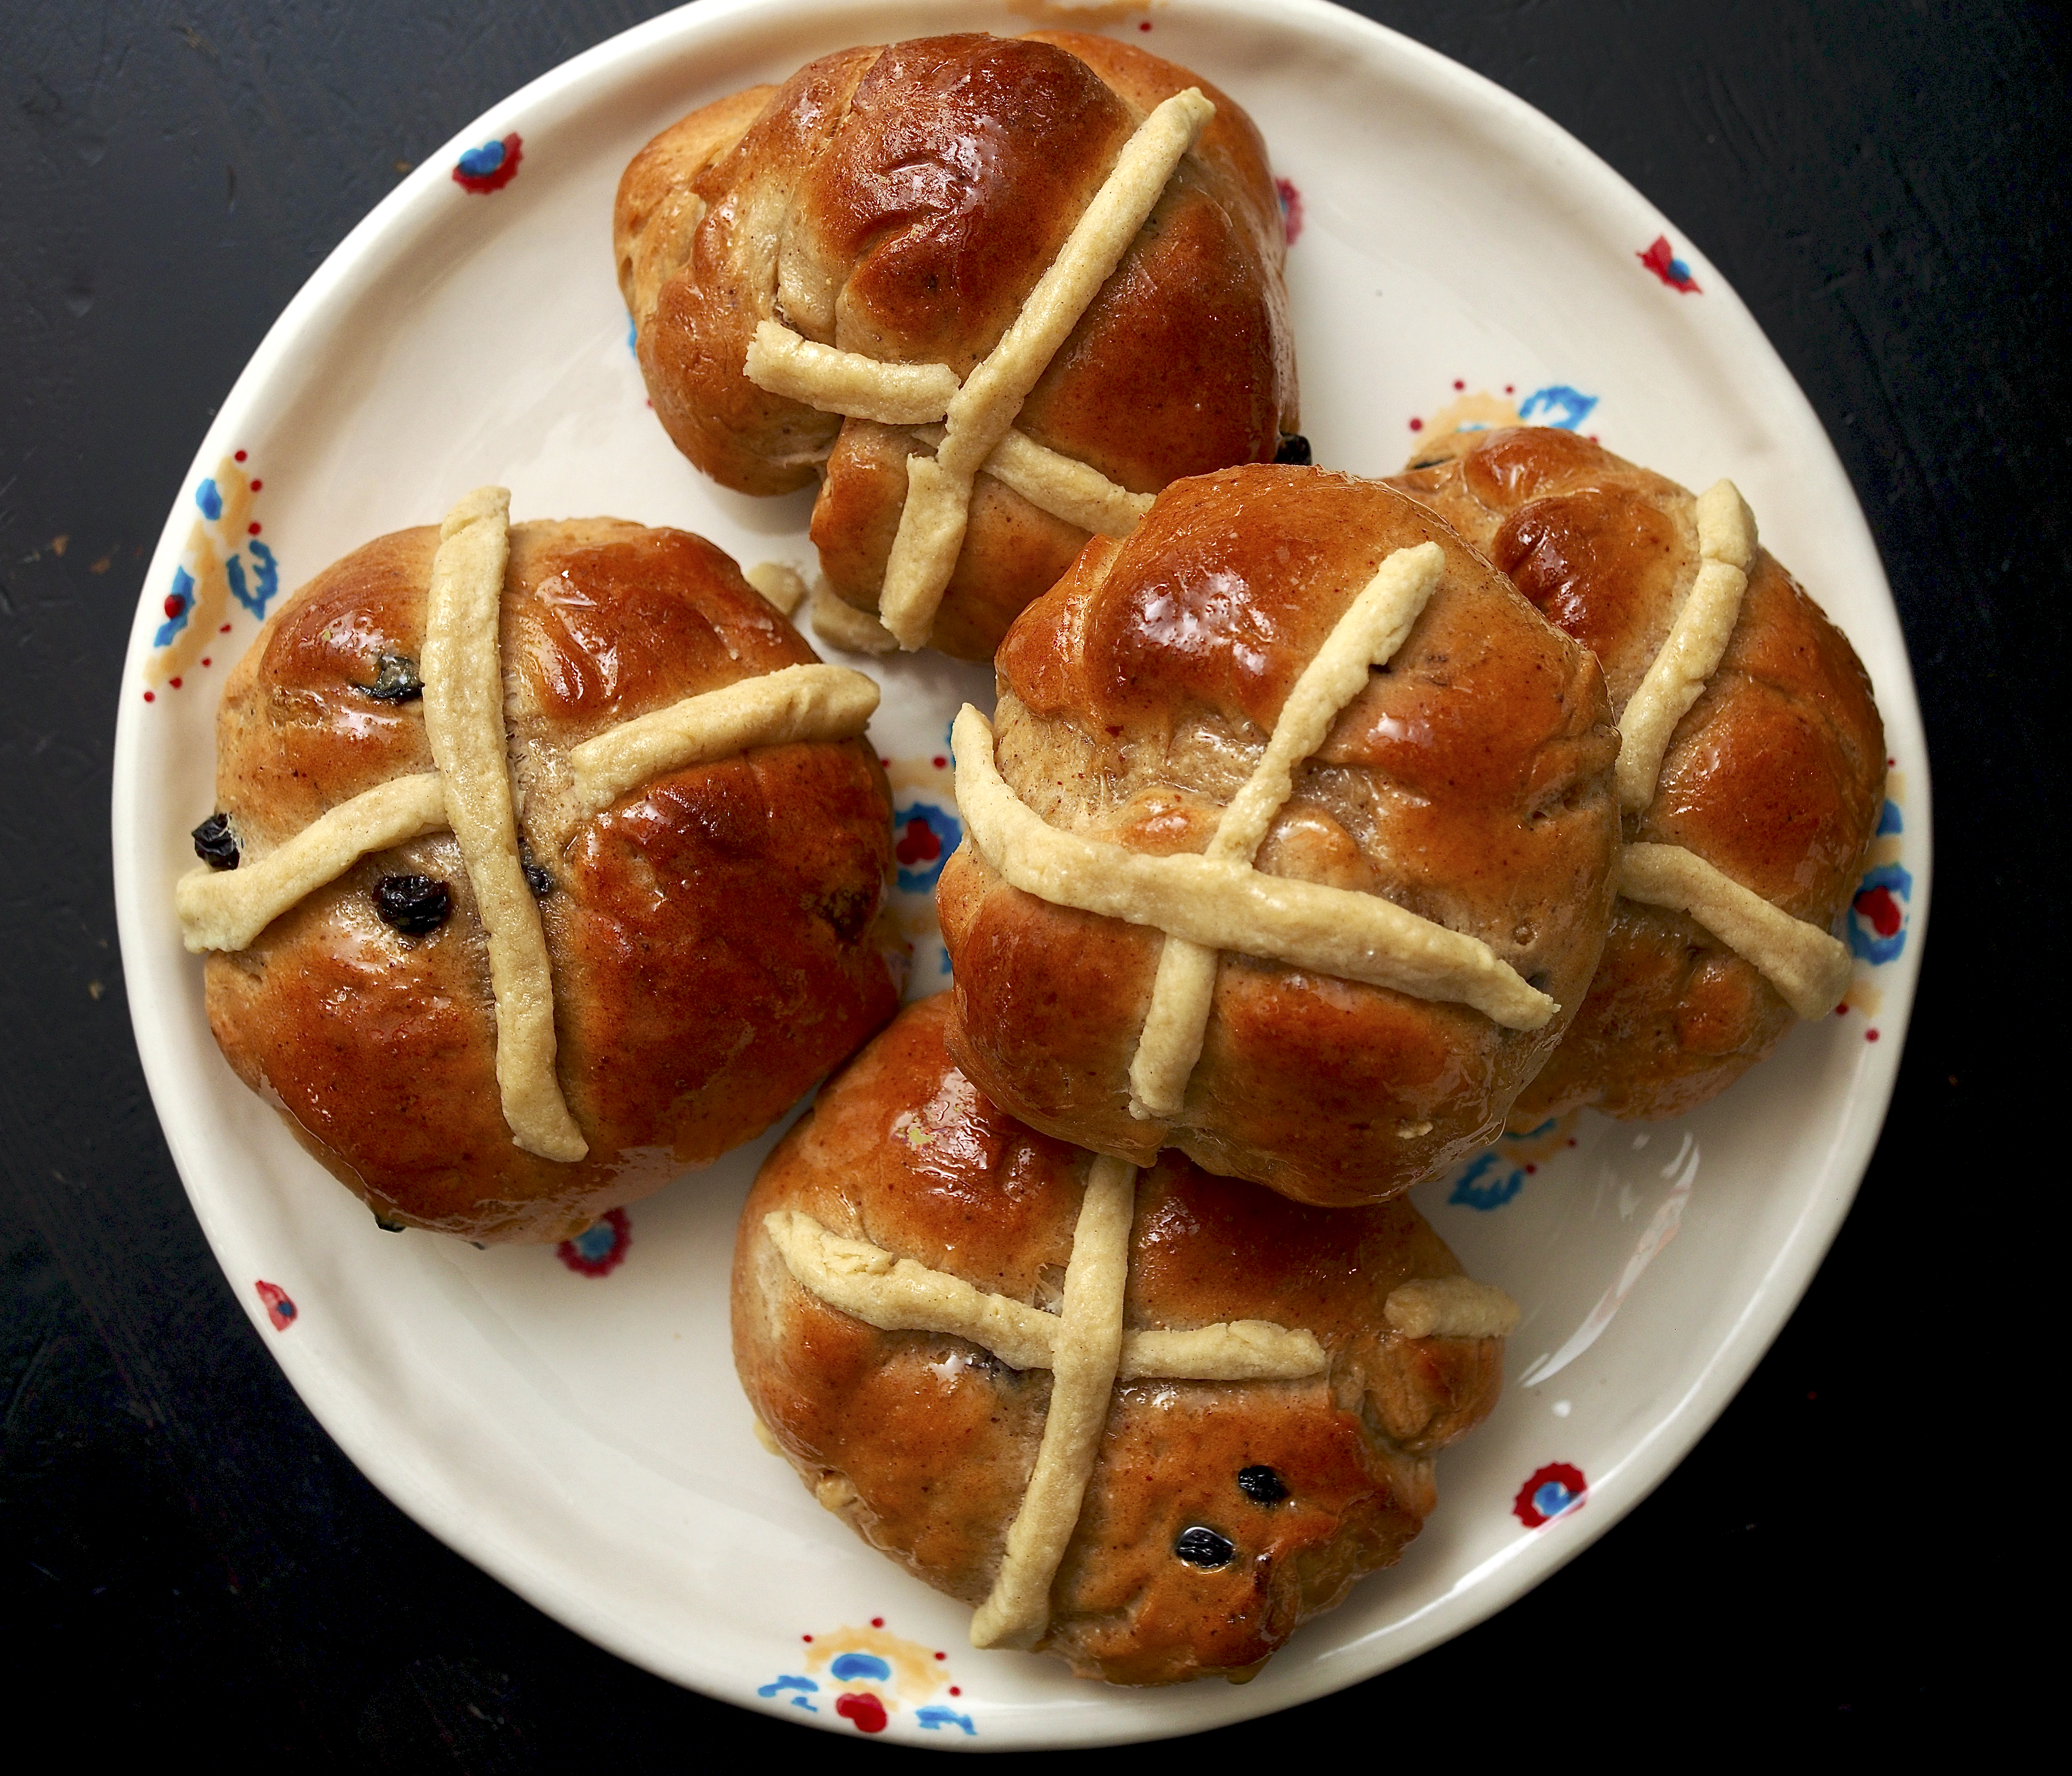
We like the occasional Hot Cross Bun … warm with a wedge of butter on it, but often find the shop-bought ones too sweet. This version, however, has all the flavour and texture but eases up on the sugar. Best eaten on the day you make them as they lose a bit of freshness that toasting will fix. Not a problem though as we suspect the warm buns will tempt even the most jaded HCB eaters out there. It’s a pretty easy recipe too, though Jono reckons he’ll get the crosses better next time.
Hot Cross Buns, makes 12 buns
450g strong white flour
1 tsp salt
1 tsp ground mixed spice
1 tsp ground cinnamon
½ tsp grated nutmeg
20g fresh yeast, or 7g fast-action dried yeast
50g caster sugar
50g butter, melted and cooled
150ml tepid milk
5 tbsp tepid water
1 large egg, beaten
75g currants
50g chopped mixed peel
For the cross:
50g plain flour
25g soft butter
To Glaze:
2 tbsp granulated sugar
2 tbsp water
Measure the flour, salt, spices, sugar and dried yeast (if using), into a large bowl and stir to mix and then make a well in the centre.
If using fresh yeast, mix this with the milk and water until combined. Pour the butter, the beaten egg, milk and water into the well followed by the currants and mixed peel. Mix to a soft dough.
Turn out onto a lightly floured work surface and knead for 10 minutes until smooth and elastic. Transfer to an oiled bowl and cover with oiled clingfilm. Keep in a warm room and leave to rise for 1.5 hours and until it has doubled in size.
Lightly grease 2 baking trays.
When the dough has risen turn out onto a lightly floured work surface again and knead for 2-3 minutes. Divide into 12 equal pieces and shape into round buns.
Make a cross in the top of each bun with a knife then place on the prepared baking trays and cover with oiled clingfilm. Leave to rise again in a warm place for 30 minutes. Pre-heat an oven to 220C/200C fan.
While the buns are rising make the pastry for the crosses by mixing the flour and butter with a little water and roll out. Cut into thin strips and place into the cuts on the top of the buns.
Bake the buns for about 15 minutes until brown and hollow sounding when the base is tapped.
While the buns are baking make the glaze by dissolving the sugar in the water over a gentle heat. As soon as the buns come out of the oven brush them all over with the glaze.
It may be hard to resist, so don’t … cut one open and spread with butter before eating.
(Original recipe from Mary Berry’s Baking Bible, BBC Books, 2009.)
The flavours in this little Middle Eastern pie are stunning. You can make the filling up to a couple of days ahead and keep it in the fridge, the problem with this is trying to resist eating it. If your filo pastry is frozen you should defrost it in the fridge overnight, defrosting in haste causes the sheets to stick together. You can also re-freeze any sheets that you don’t use. Sarit and Itamar suggest serving with a rocket and orange salad dressed with lemon juice and olive oil. We had a green salad which worked fine too.
Wine Suggestion: we chose the Manciat-Poncet Pouilly Vinzelles which is a classic Chardonnay with good weight and a delightful balance of perfectly ripe fruit, vibrant freshness and judiciously handled oak. Aromatically broad and rich to counter the rich chicken flavours and natural minerality giving it all lift and vitality.
Chicken pastilla – serves 4-6
6 chicken thighs (about 800g)
2 tsp salt
1 tsp black pepper
100g pitted dates
3 onions (about 300g), sliced thinly
1 cinnamon stick
1 dried chilli
2 tbsp ras el hanout
240ml water
1 packet of filo pastry (250g-270g)
60g melted butter
Heat the oven to 200C/180C fan/gas 6.
Put a large frying pan over a medium heat. Put the chicken thighs into the pan, skin-side down, then season with 1 tsp of the salt and the pepper. After about 10-15 minutes the skin should be crisp and nicely coloured. Turn the thighs over and cook on the other side for about 5 minutes, then transfer to an oven-proof pan that can fit them all in one layer. Add the dates.
Add the sliced onions to the fat in the frying pan and add another tsp of salt. Cook until soft and starting to turn golden, then add the cinnamon stick, dried chilli and ras el hanout. Mix well together and cook for 30 seconds, then add the water and bring to the boil. Once boiling, pour over the chicken thighs, then cover the pan and put in the centre of the oven for 1 hour.
Check that the chicken is cooked, it should just fall off the bone. If not, return to the oven for another 10-15 minutes. Set the chicken aside until cool enough to handle.
Pour the contents of the pan into a sieve over a bowl, keep the cooking liquid. Pull the chicken from the bones and discard the skin, bones and any gristly bits. Remove the chilli and cinnamon stick. Mix the chicken with the cooked dates and onions, then add just enough of the liquid to bind it all together. You can prepare this part up to 2 days in advance and keep in the fridge until needed. Keep the extra liquid too and serve as a sauce on the side.
Preheat the oven to 200C/180 fan/gas 6.
Open the filo pastry packet and lay it out on a surface.
Carefully peel off the first sheet and brush with the melted butter, then fold into four and set aside (this will form the base of the pastilla).
Peel of the next sheet and butter it, then cover with another sheet and set aside. Repeat with two more sheets, so you have two sheets of double thickness.
Place one doubled sheet lengthways on the table, put the folded square in the centre of it, then lay the other doubled sheet on top at 90° to the first sheet, so you have a cross shape that is thickest in the middle.
Carefully lift the pastry and place in a 22-24cm ovenproof frying pan letting the sides hang over the edge. Fill with the chicken mixture and fold the corners over to cover it. It looks nice if its a bit crumpled so no need to be to neat about it. Brush the top of the pie with the rest of the melted butter and put into the centre of the oven for 15 minutes. Turn the pan around so it all crisps evenly, then cook for another 10-15 minutes until crisp and golden.
Meanwhile, heat the cooking liquid in a small pan.
Serve immediately with a jug of the sauce to pour over and a salad on the side.
(Original recipe from Honey & Co. by Sarit Packer & Itamar Srulovich, Saltyard Books, 2014.)
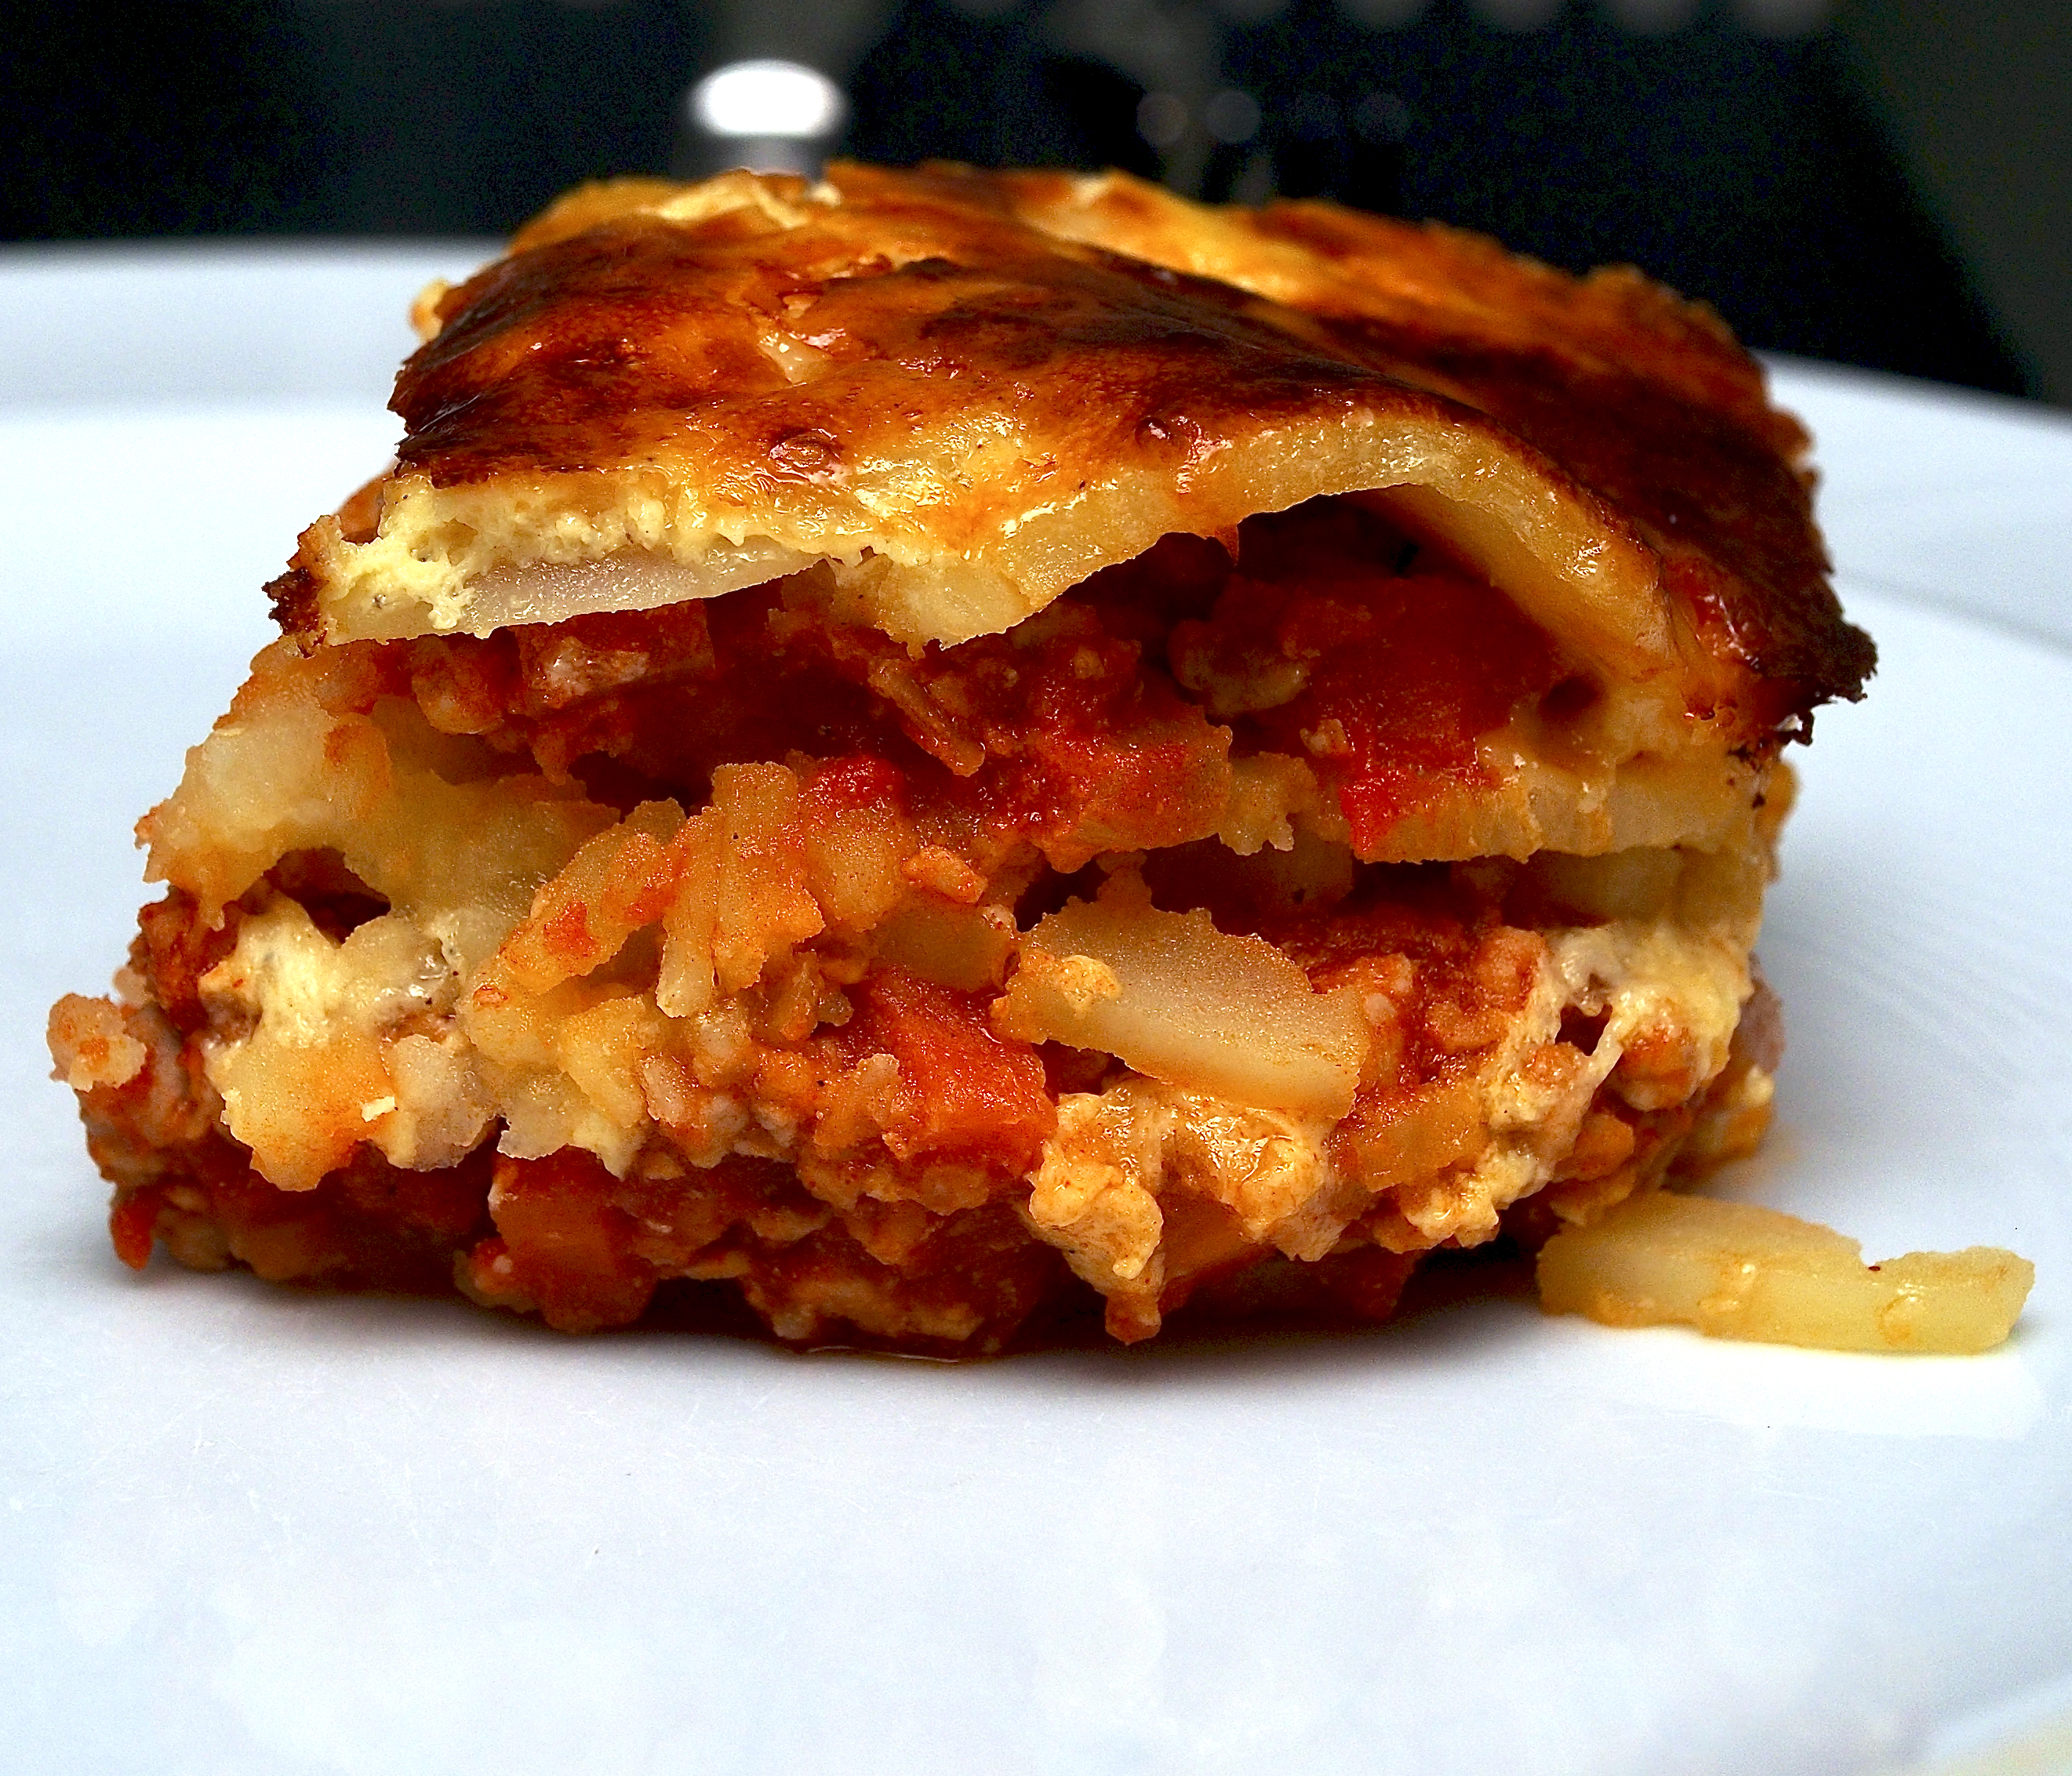
This is a Romanian version of moussaka and much easier than the Greek version we usually make. The aubergines are replaced with layers of potatoes and the cheese sauce is a mixture of yoghurt, cheese and egg yolks. Makes a great family meal with a salad on the side.
Wine Suggestion: This suits a light, earthy red and a recent find, the Jeunes Vignes de Xinomavro by Thymiopoulos was yet again a delight.
Musaca de cartofi – serves 6
FOR THE FILLING:
1 tbsp vegetable or sunflower oil
2 onions, finely diced
1 carrot, finely diced
500g pork mince (or you can use a mixture of pork and beef mince)
1 tbsp sweet paprika
1 x 400g tin chopped tomatoes
300ml passata
4 medium potatoes, waxy ones work best
15g butter
FOR THE CHEESE SAUCE:
100g Cheddar cheese, grated
150g natural yoghurt
2 egg yolks
Heat the oil in a large frying pan over a medium heat. Add the onions and carrot and sauté for 6-7 minutes. Add the pork mince, paprika, tomatoes and passata, then cook for 25 minutes, until reduced and thickened. Give it a stir now and then as it cooks.
Meanwhile, peel the potatoes and slice into thin discs (a mandoline works best for this job). Bring a large pot of water to the boil, add some salt, then blanch the potatoes for about 5 minutes or until just softened. Drain and set aside.
To make the cheese sauce, mix the cheese with the yoghurt and egg yolks.
Preheat the oven to 180C/Gas4.
Grease a 6-person lasagne dish with a little of the butter and arrange a layer of potatoes over the bottom, they can overlap slightly. Dot with a little butter and season with salt and pepper. Spread half of the meat filling on top, then cover with another layer of potatoes, dot with butter and season, then spread the rest of the filling on top. Finish with a layer of potatoes and top with the cheese sauce.
Bake for 30-35 minutes until nicely browned on top.
(Original recipe from Carpathia: Food from the heart of Romania by Irina Georgescu, Frances Lincoln Publishing, 2020.)
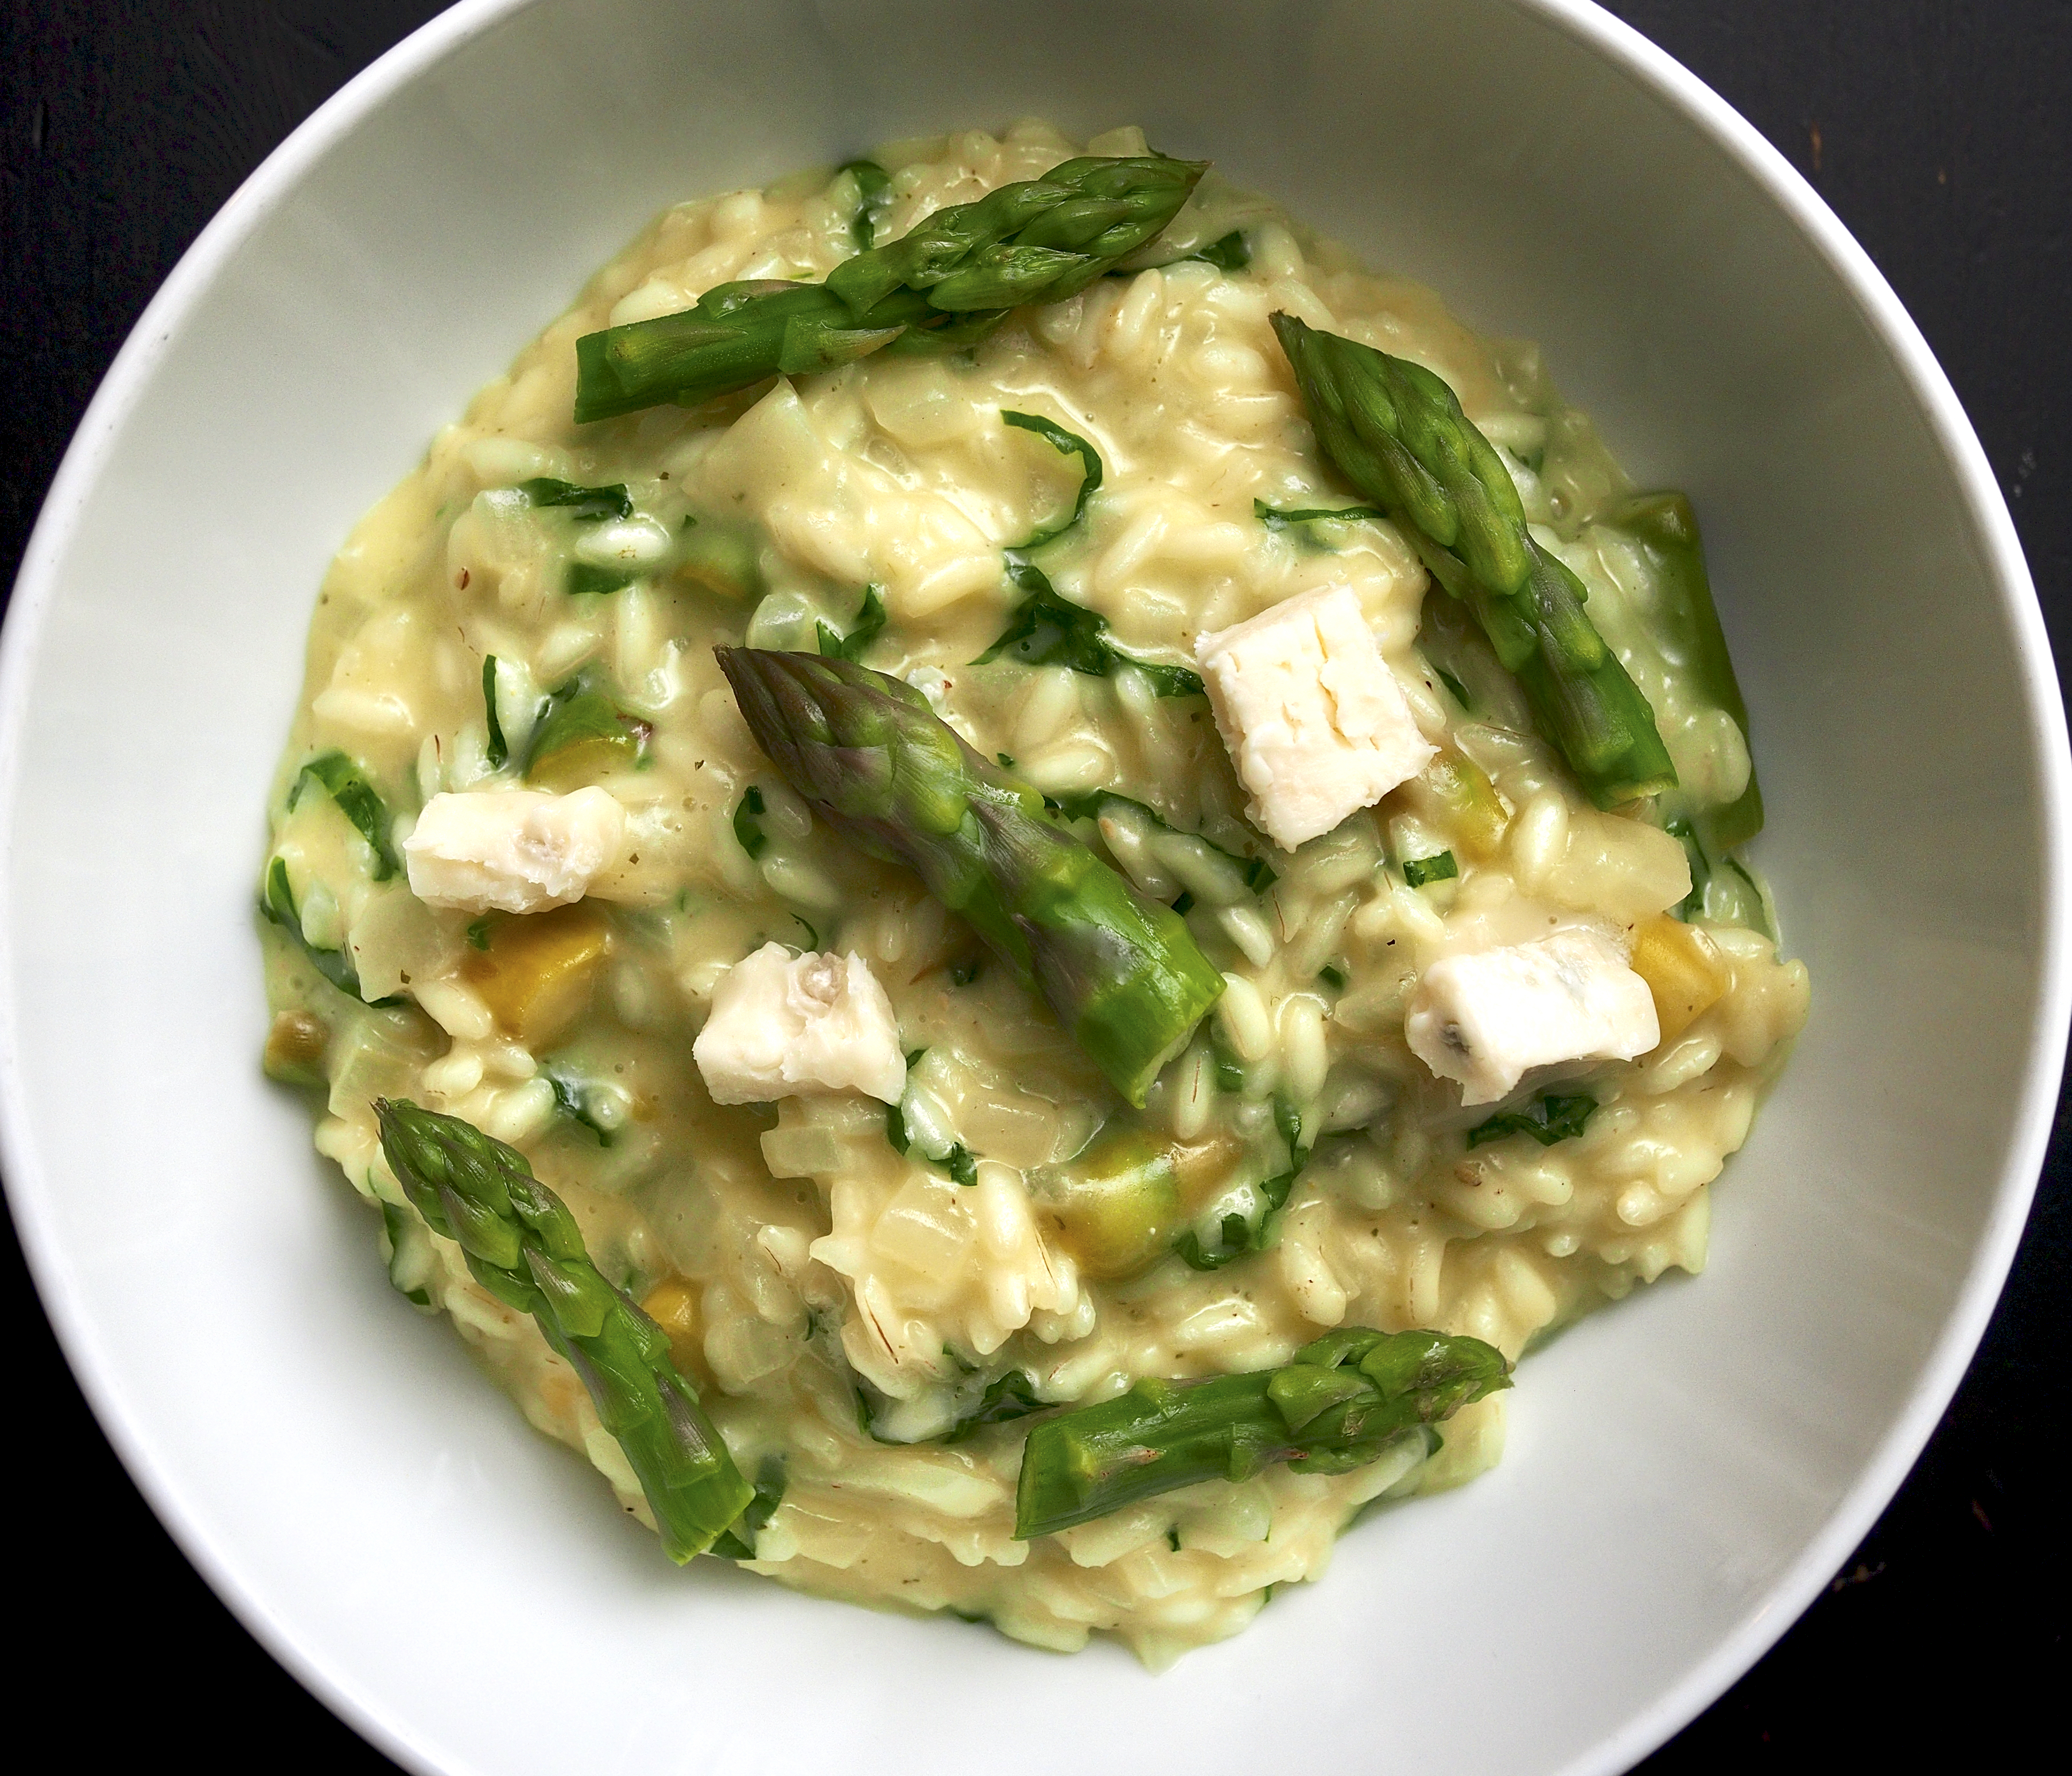
Daffodils, warmer weather (occasionally … ), longer days, and spring vegetables arriving in the shops. Things are definitely looking up, at least in our kitchen if nowhere else.
Wine Suggestion: The asparagus cried out for the Höpler Grüner Veltliner lurking in the fridge waiting for spring to arrive. GV is one of the few varieties to work with asparagus and this dish isn’t shy of their flavours so a good match. Crisp pear and zesty lemon flavours overlay the hints of characteristic white pepper umami savouriness; this is so clean and vibrant it shouts the beginning of the season.
a bunch of asparagus, snap off and discard the woody ends
1.5 litres of vegetable stock
40g butter and 25g of cold diced butter
1 small onion, finely chopped
250g superfino carnaroli rice
60ml dry white wine
40g Parmesan, grated
60g Gorgonzola
a small handful of wild garlic leaves, finely chopped
Remove the tips from the asparagus and chop the stems into 3cm pieces.
Blanch the tips in a pan of salty boiling water for 2 minutes, then drain and set aside.
Bring the stock the boil, then turn down and keep it at a bare simmer.
Melt 40g butter in a heavy-based pan, add the onion and asparagus stalks, then cook gently until the onion is soft and translucent, but not coloured.
Turn the heat up a little and add the rice. Stir for a couple of minutes until warm and coated with the butter and onion.
Add the wine and allow it to bubble up and almost disappear, then start adding the stock a ladle at a time. Keep stirring and only add more stock when the previous ladleful has been absorbed. Start tasting the rice after about 15 minutes, you want it to be soft but still with a little bite in the centre.
Remove the pan from the heat and beat in the cold butter, Parmesan, 20g of the Gorgonzola and the wild garlic. Season to taste, then ladle into warm bowls and garnish with the asparagus tips and the rest of the Gorgonzola.
(Original recipe from Made at Home by Giorgio Locatelli, 4th Estate, 2017.)